Beeswax wraps have gained popularity in recent years as a sustainable and eco-friendly alternative to cling film. These versatile wraps are not only reusable but also biodegradable, making them an excellent choice for reducing single-use plastic waste in the kitchen. If you’re looking to reduce your plastic usage and create a more sustainable lifestyle, making beeswax wraps at home is a simple and rewarding DIY project. Here’s how you can make beeswax wraps as an alternative to cling film.
Choosing the Right Materials
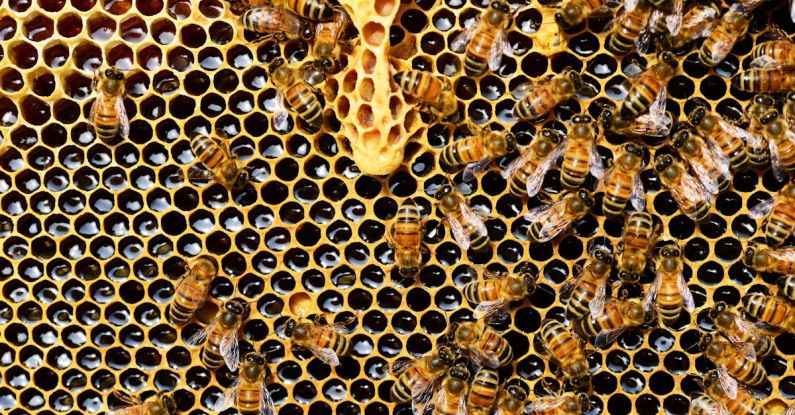
To make beeswax wraps, you will need a few key materials. Start by gathering cotton fabric – choose a lightweight, tightly woven fabric like muslin or cotton sheeting. Beeswax is the primary ingredient for these wraps, as it gives them their signature cling and waterproof properties. You will also need pine resin, which helps the wraps become more pliable, and jojoba or coconut oil, which adds flexibility and helps the wraps adhere to surfaces.
Preparing the Fabric
Begin by cutting your fabric into desired sizes for your wraps. Popular options include small squares for covering bowls or larger rectangles for wrapping sandwiches and snacks. Make sure to wash and dry the fabric before moving on to the next step.
Creating the Beeswax Mixture
In a double boiler or microwave-safe bowl, combine the beeswax, pine resin, and jojoba or coconut oil. Heat the mixture gently until everything is melted and well combined. Stir the mixture to ensure all ingredients are evenly distributed.
Applying the Beeswax Mixture
Place a piece of parchment paper on a baking sheet and lay one piece of fabric flat on top. Using a brush or a spoon, spread a thin layer of the beeswax mixture evenly over the fabric. Make sure to cover the entire surface, paying extra attention to the edges.
Setting the Beeswax Wrap
Once the fabric is coated with the beeswax mixture, place it in the oven at a low temperature (around 150°F) for a few minutes or until the wax has melted into the fabric. Remove the fabric from the oven and let it cool and harden. Your homemade beeswax wrap is now ready to use!
Caring for Your Beeswax Wraps
To keep your beeswax wraps in top condition, wash them with cold water and mild soap. Avoid using hot water or harsh cleaning agents, as these can degrade the wax coating. Hang the wraps to dry or pat them dry with a cloth. With proper care, your beeswax wraps can last for up to a year.
Embracing Sustainability in the Kitchen
Making beeswax wraps at home is a fun and creative way to reduce your environmental footprint and embrace a more sustainable lifestyle. By replacing single-use plastic cling film with reusable beeswax wraps, you can significantly reduce the amount of plastic waste generated in your kitchen. Not only are beeswax wraps environmentally friendly, but they also add a touch of charm to your food storage and presentation.
Exploring Different Designs and Patterns
One of the best things about making beeswax wraps is the opportunity to get creative with different fabrics, designs, and patterns. Experiment with colorful fabrics, fun prints, or even hand-drawn designs to make your wraps unique and personalized. Whether you prefer a minimalist look or a vibrant style, there are endless possibilities for customizing your beeswax wraps to suit your taste and aesthetic.
Making beeswax wraps as an alternative to cling film is a simple and rewarding DIY project that can help you reduce your plastic usage and embrace a more sustainable lifestyle. By choosing natural materials and creating your wraps at home, you can contribute to a healthier planet and enjoy the benefits of reusable, eco-friendly food storage solutions. Give beeswax wraps a try and discover the joy of sustainable living in your kitchen.