Crafting homemade paper from recycled materials is not only a sustainable and eco-friendly practice but can also be a fun and creative way to express yourself. By using items that would otherwise end up in the trash, you can give them new life in the form of beautiful handmade paper. In this guide, we will walk you through the steps to handcraft homemade paper from recycled materials, providing you with a simple and enjoyable DIY project to try at home.
Selecting Your Recycled Materials
The first step in making homemade paper is to gather your recycled materials. Look around your home for items such as old newspapers, magazines, junk mail, or cardboard. You can also add in other materials like dried leaves, flowers, or fabric scraps to give your paper a unique texture and appearance. The key is to experiment with different materials to create a paper that reflects your personal style and creativity.
Preparing Your Materials for Pulp
Once you have collected your recycled materials, it’s time to prepare them for the pulp-making process. Tear the paper into small pieces and soak them in a container of water for a few hours or overnight. This will help soften the fibers and make them easier to blend into pulp later on. For other materials like leaves or fabric scraps, make sure to cut them into small pieces as well to ensure they integrate well with the paper pulp.
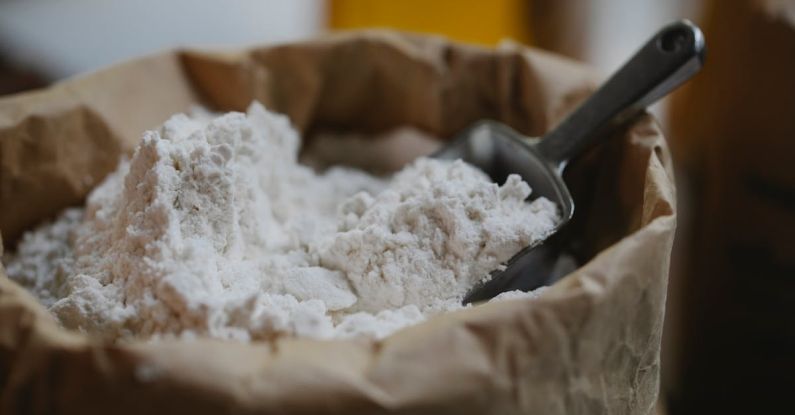
Blending and Forming the Pulp
After your materials have soaked, it’s time to blend them into pulp. You can use a blender or food processor to mix the materials with water until you achieve a smooth and consistent pulp. The ratio of materials to water will depend on the desired thickness of your paper, so feel free to experiment with different combinations until you find the right consistency. Once you have your pulp ready, pour it into a shallow container or basin to begin forming your paper sheets.
Creating Your Homemade Paper
To form your homemade paper sheets, you will need a mold and deckle set. The mold is a screen-like frame that will help you collect the pulp, while the deckle is a frame that will define the size of your paper sheet. Dip the mold and deckle into the pulp mixture, making sure the pulp is evenly distributed on the screen. Gently lift the frames out of the pulp, allowing excess water to drain away. Press the pulp with a sponge or cloth to remove any remaining water and flatten the sheet.
Drying and Pressing Your Paper
Once you have formed your paper sheet, carefully transfer it to a flat surface to dry. You can place the sheets on a drying rack or even hang them on a clothesline to air dry. For a smoother finish, you can place a piece of felt or cloth over the paper and use a flat object to press out any remaining moisture. Allow the paper to dry completely before removing it from the surface, ensuring it is firm and ready for use.
Experimenting with Colors and Textures
One of the joys of making homemade paper is the ability to experiment with different colors and textures. You can add natural dyes or pigments to your pulp mixture to create colorful paper sheets. Additionally, incorporating various materials like flower petals or glitter can add a unique touch to your paper creations. Let your imagination run wild and explore different techniques to make each sheet of paper a work of art.
Embracing the Handcrafted Beauty
Handcrafting homemade paper from recycled materials is a rewarding and environmentally conscious practice that allows you to unleash your creativity. By following these simple steps and experimenting with different materials and techniques, you can create one-of-a-kind paper products that showcase your personality and style. So, next time you’re looking for a creative project to try at home, consider making your own homemade paper and enjoy the beauty of handcrafted artistry.